
Golden Hour Photography: Timing, Light & Portrait Tips
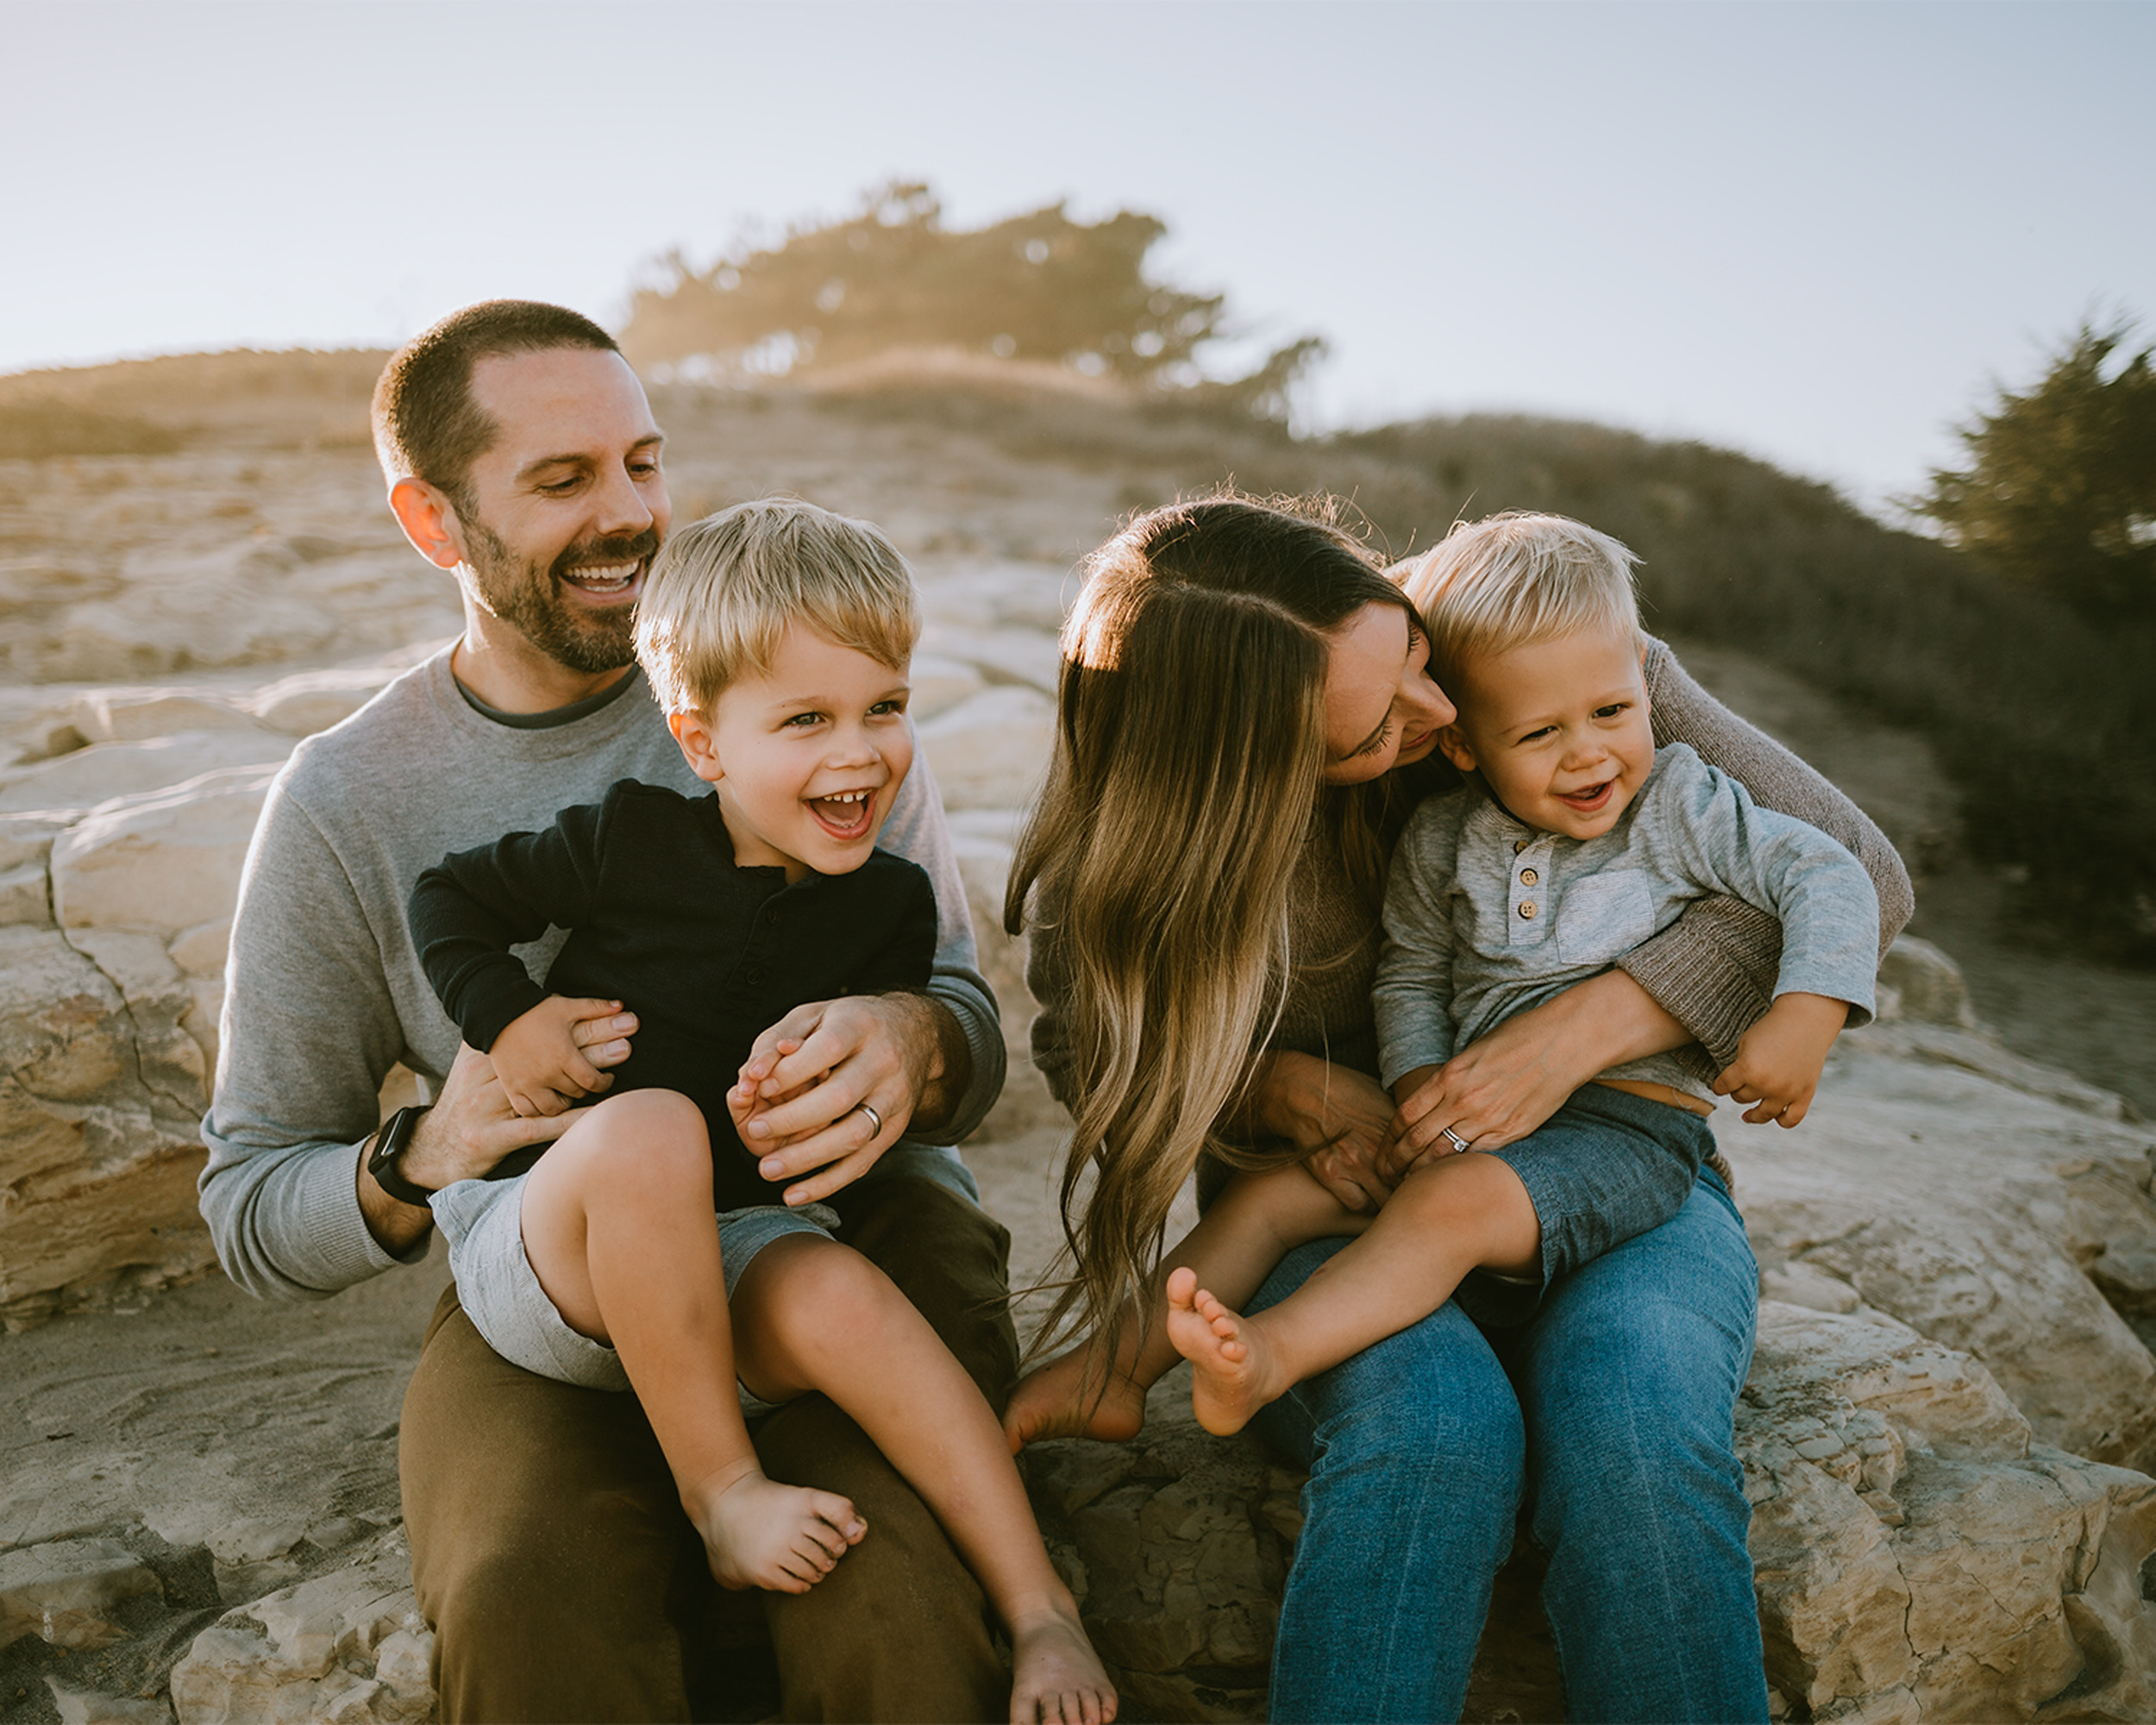
Golden hour photography uses the low sun around sunrise or sunset to create warm light, long shadows and opportunities for backlit portraits. It is not a fixed 60-minute window. Location, season, the horizon and weather all affect the light you will actually see.

When is golden hour?
Golden hour describes the period around sunrise and sunset when the sun is low in the sky. The useful window depends on your location and date; buildings, mountains and trees may block direct light earlier. Check local times rather than scheduling every session exactly one hour before sunset.
Plan a location around the sun’s direction
Check sunrise or sunset time, then look at the direction of the sun relative to your background. Scout an open horizon for backlight or choose an area with shade nearby. PhotoTime’s golden hour calculator and sun path preview can help you visualize a composition before the shoot.

Choose front light, side light or backlight
With front light, the sun illuminates the face directly; ask subjects to turn slightly if they are squinting. Side light adds shape and texture. Backlight creates a rim of light around hair and clothing, but it needs attention to exposure and flare. Try more than one direction before changing location.
Golden hour portrait camera settings
Start with a shutter speed suited to your subject’s movement, then choose an aperture that gives enough depth of field for the people in your frame. Adjust ISO as the light falls. Review faces and important highlights rather than trusting a bright screen. Shoot RAW if it fits your workflow, and keep white balance consistent across a sequence.
Use movement prompts while the light changes
Walking, a gentle turn and a close embrace give you several compositions without a complicated reset. Photograph a wide scene, a medium portrait and a detail from each setup. Keep a few photo posing ideas ready so that finding a pose does not use up the best light.
Morning or evening golden hour?
Both can produce soft-looking warm light when conditions cooperate. Choose based on the direction of the sun, access, weather and the people being photographed. A sunrise session may have a quieter location; a sunset session may fit the schedule better. Neither guarantees a warmer or more dramatic result.
Clouds, hills and the real horizon
Clouds can soften direct light or hide the sun altogether. A hill may change when the sun disappears behind the local horizon, but there is no reliable universal rule giving a fixed number of extra minutes per kilometre of elevation. Scout the viewpoint and allow a backup composition. Solar calculations describe an astronomical position; local conditions can change what is visible.

Golden hour versus blue hour
Golden hour is associated with low, warm sunlight. Blue hour is a twilight period before sunrise or after sunset, when the sky can provide cooler, more even light. As daylight fades, raise ISO, adjust shutter speed or use support as needed. Do not expect a moving subject to stay sharp with a long exposure.
A short golden hour photoshoot checklist
- Check the date, location, sun direction and weather forecast.
- Arrive early enough to park, walk and meet your subjects.
- Prepare a small set of poses and a nearby backup spot.
- Review exposure, focus and shutter speed as the light changes.
- Leave a few minutes for blue hour if the session allows it.
For more about the difference between predicted and observed sunlight, see NOAA’s solar calculation notes.
Keep planning your next photoshoot
- How to plan your photoshoot
- How to pose couples with a height difference
- Natural family photo posing tips
Ready for your next photoshoot?
Keep posing ideas, movement prompts and photoshoot moodboards close with Posica.